Tuesday, May 19, 2015

diy reusable cotton face pads


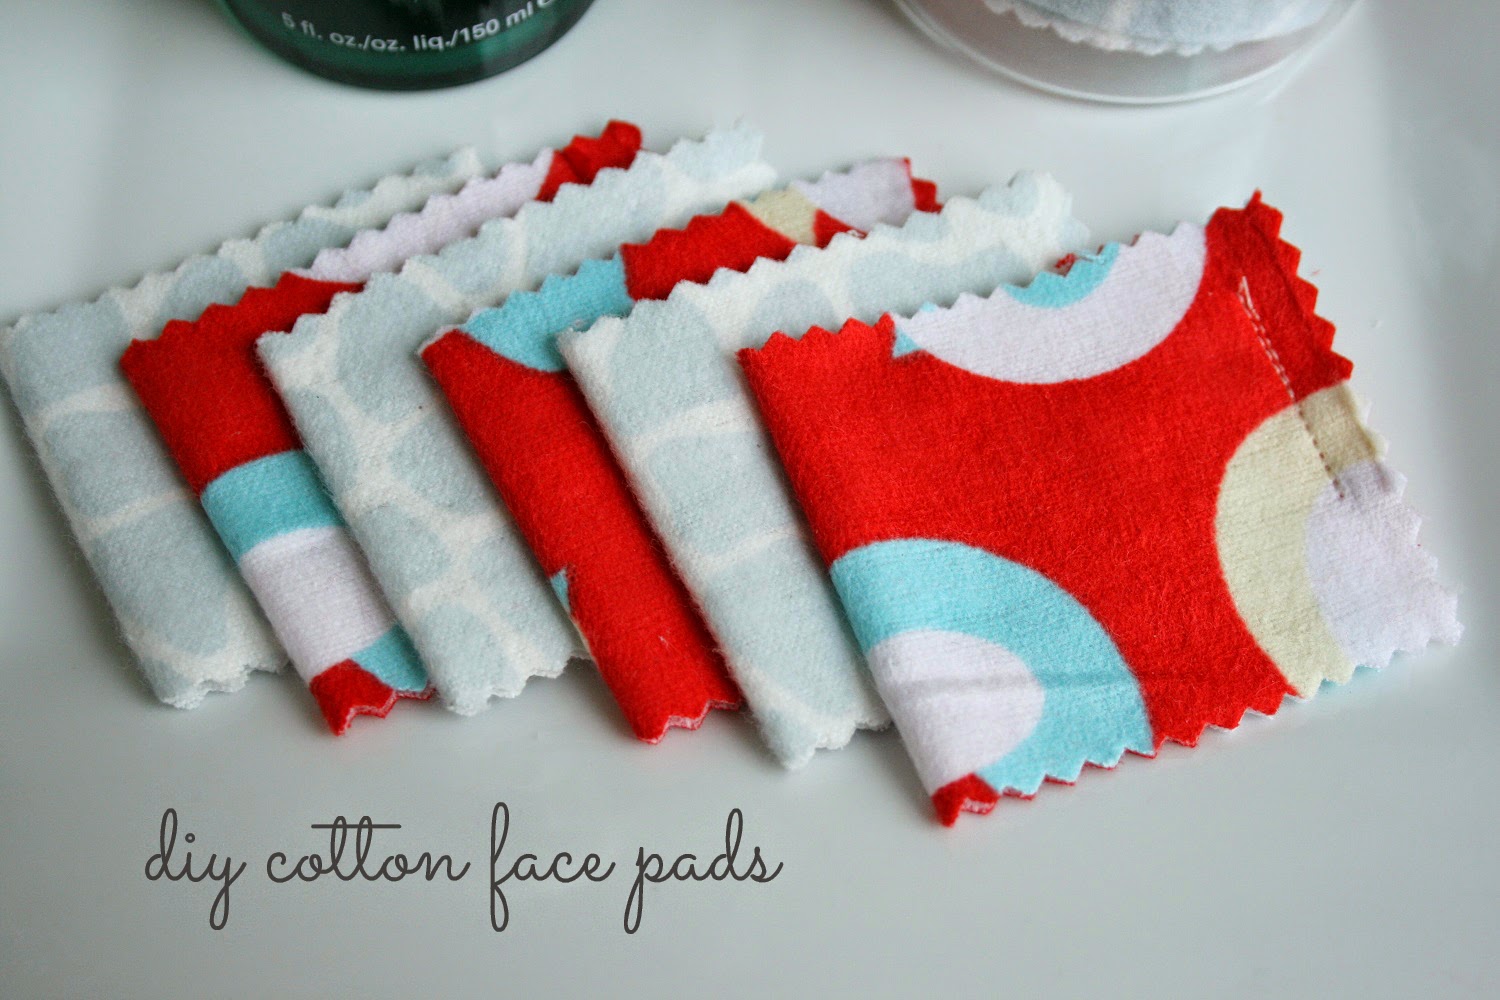
This past earth month I made a new discovery... reusable cotton face pads! I love the idea considering I use at least 2 a day for toner, and sometimes 3 a day if I use it for make-up remover. But at $22 for 8... um, sorry earth! So what's the next best thing... diy cotton face pads!


supplies needed:
super soft baby flannel
pinking shears 
pins (optional)
sewing machine (optional)

1. cut a piece of fabric that is at least 5" wide, and as long as you want (depending on how many you want, each pad will be approximately 2.5"x2")
2. fold the fabric, wrong sides together (so that the 5" becomes 2.5") 
3. using your pinking shears, begin making rectangles every 2"

At this point you could just have a 5"x2" strip of fabric that you fold in half when using with your toner or makeup remover, or you can continue with an extra step (or 2)

4. with my fabric still folded, I added a pin near each fold and then added a stitch back and forth with my sewing machine.

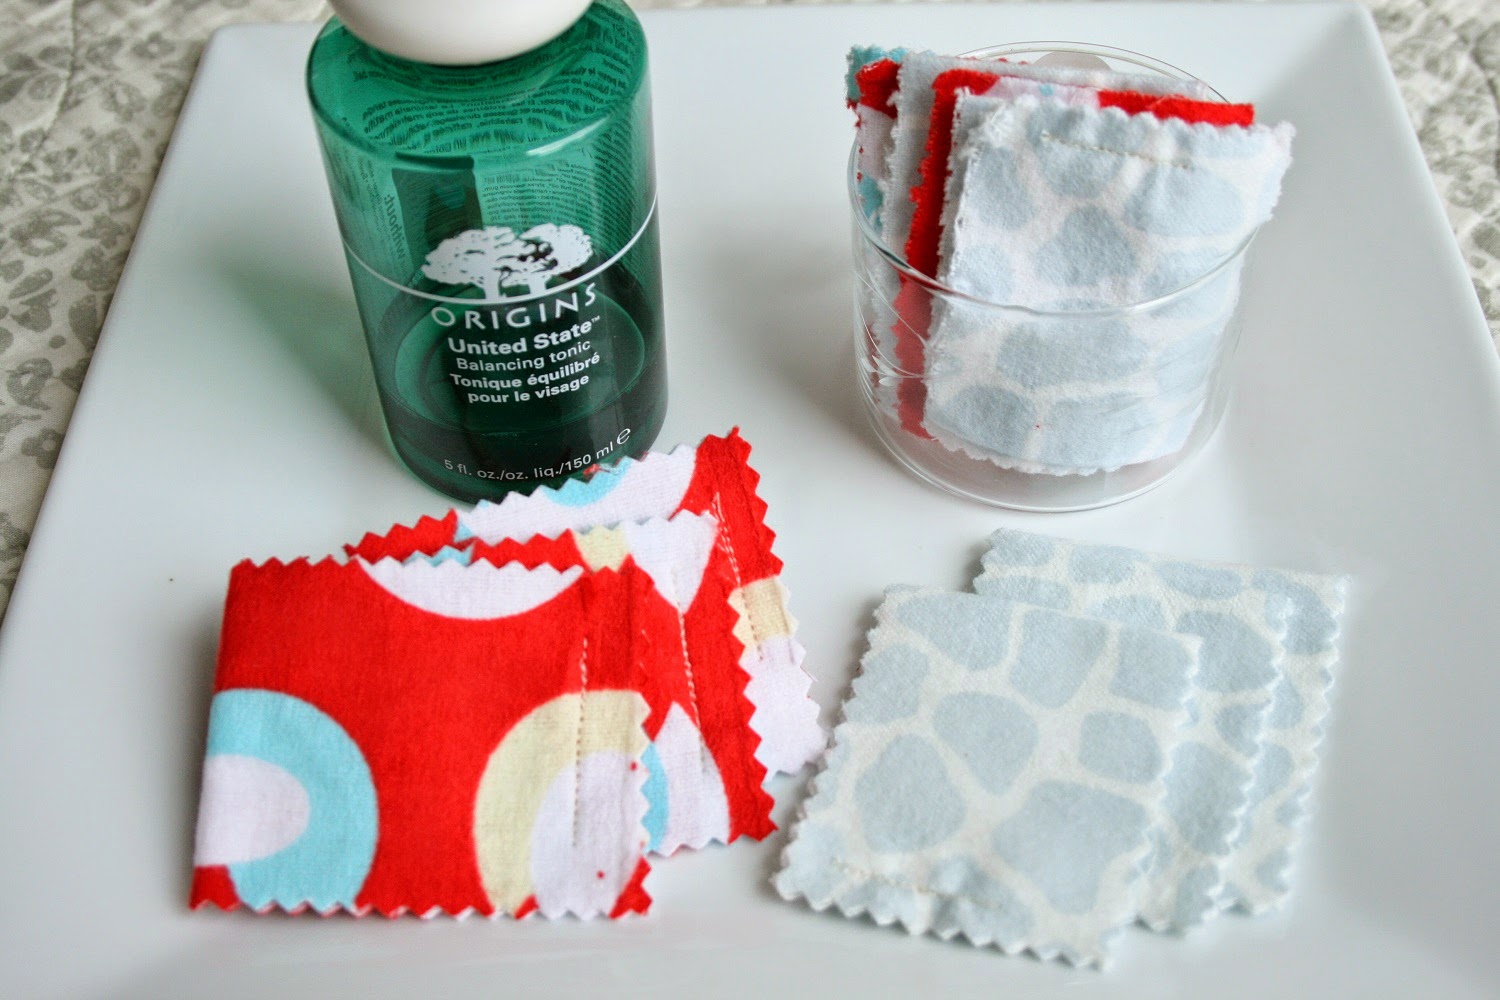
I have been using these everyday for almost 2 weeks and love that I am saving so much cotton from being thrown away. Now if only I could get on board with reusable cotton "pads"... anyone?!

follow along: Bloglovin // Facebook // Feedly // G+ // RSS // Pinterest

Thursday, May 14, 2015

19/52

week 19

It's been a little difficult to capture these kids EVERY week, especially by themselves. Babe insists on only taking pictures with his baby Kins and most of the time he just smothers her so much that she just starts to cry. 

Babe: obviously loves he little sister. He will be done with school in a few weeks and will get to spend so much quality time with her. We are currently trying to convince him that he doesn't need a huge train set taking up space in his room so that we can move Kins in with him, we'll see how that goes.

Kins: is growing so fast! She is almost 11 months. She wants to run but refuses to even stand on her own. We hold her in a standing position and her little feet move in a running motion and she shifts all her weight forward. My Husband is NOT looking forward to chasing her around all day. 


follow along: Bloglovin // Facebook // Feedly // G+ // RSS // Pinterest

Tuesday, May 12, 2015

diy hat hanger

Since moving into our house over 3 years ago, my hats have claimed a spot in a small basket on the floor of my bedroom, piled into one another. I always thought I would clear the top shelf of my closet so that they would have a more permanent spot but never did. Then a few months ago I saw this little diy by a pair & a spare and knew I had to create my own.

supplies needed:
twine
a strong branch
clip hooks
scissors


I laid out my hats in the order I wanted them to hang, in order to get the length of twine (times 2, plus extra for wrapping around the branch a few times and double knotting) Cut 2 pieces. Fold in half and tie one end of each piece of twine on each side of your branch. Make a few knots throughout the twine lengths, and slide the hooks into the knots.


To hang, cut a piece of twine the desired hanging length and extra for wrapping around the branch a few times. Hang hats on the clip hooks.


I'm super happy with the end result and now my hats have a much better home.

follow along: Bloglovin // Facebook // Feedly // G+ // RSS // Pinterest